Getting started
Prerequisites
Before you get started you'll need a BigCommerce store and have access to the admin panel.
1. Install our app

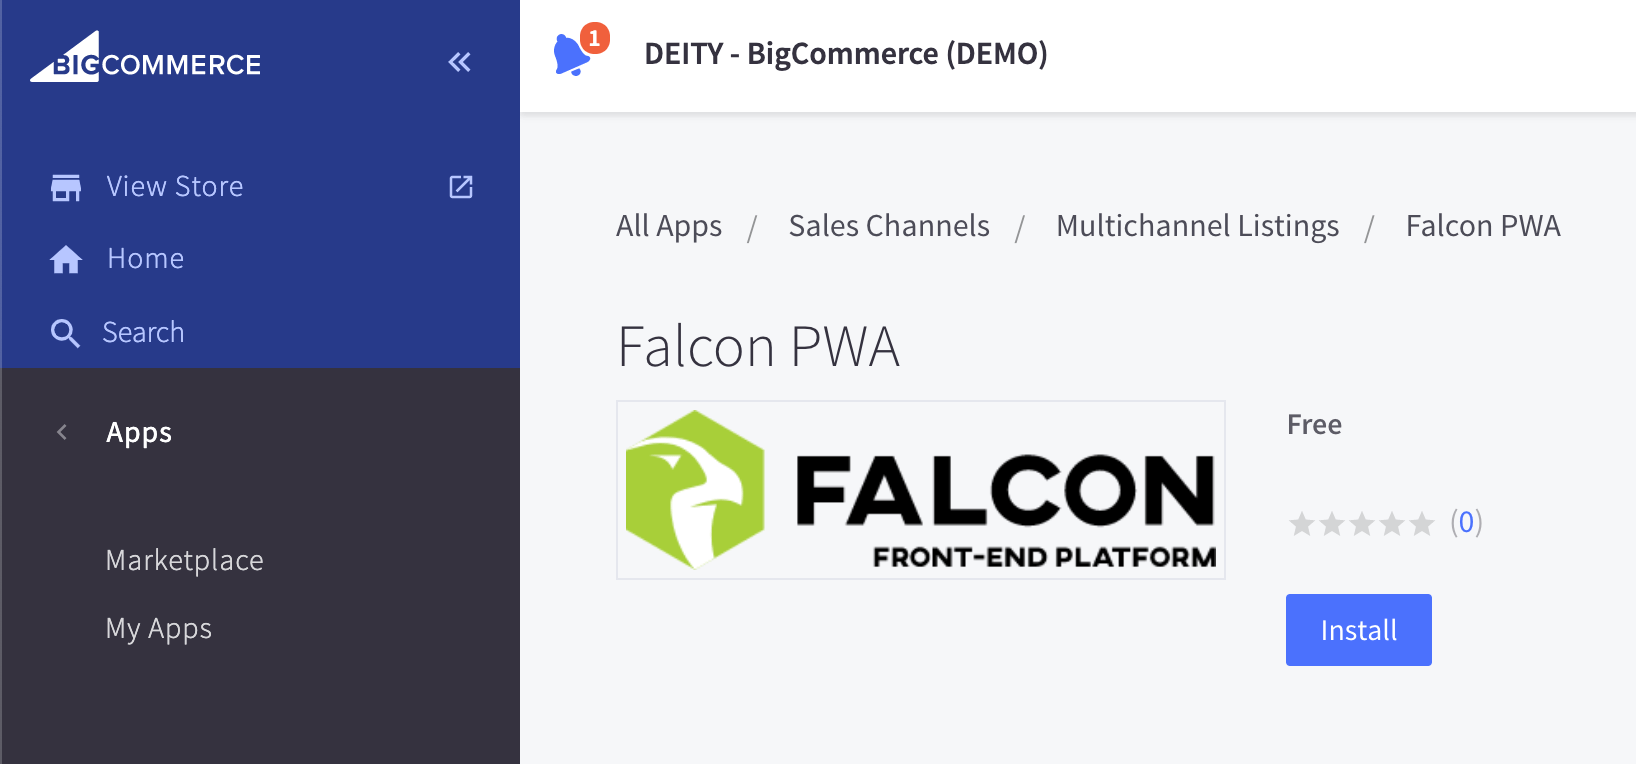
The first thing you'll need to do is visit the BigCommerce App Store and download our app.
2. Setup our app
Once you've added our app you can configure it. From the BigCommerce admin panel visit the Apps -> My Apps section and select the Falcon PWA app.
Once you're viewing the app click install.
i. Permissions

Our app will need to have access to some areas of your store to work. You'll need to agree to this to continue.
ii. Start your Deity Falcon account setup
Once you've agreed to allow our app the BigCommerce permissions it needs you be show a splash screen allowing you to view a demo store so you can get to know Falcon Platform a little better. You'll also be giving the option to 'Get Deity Falcon'. Click that to continue with your setup.
The next steps will take you through creating an account with us.

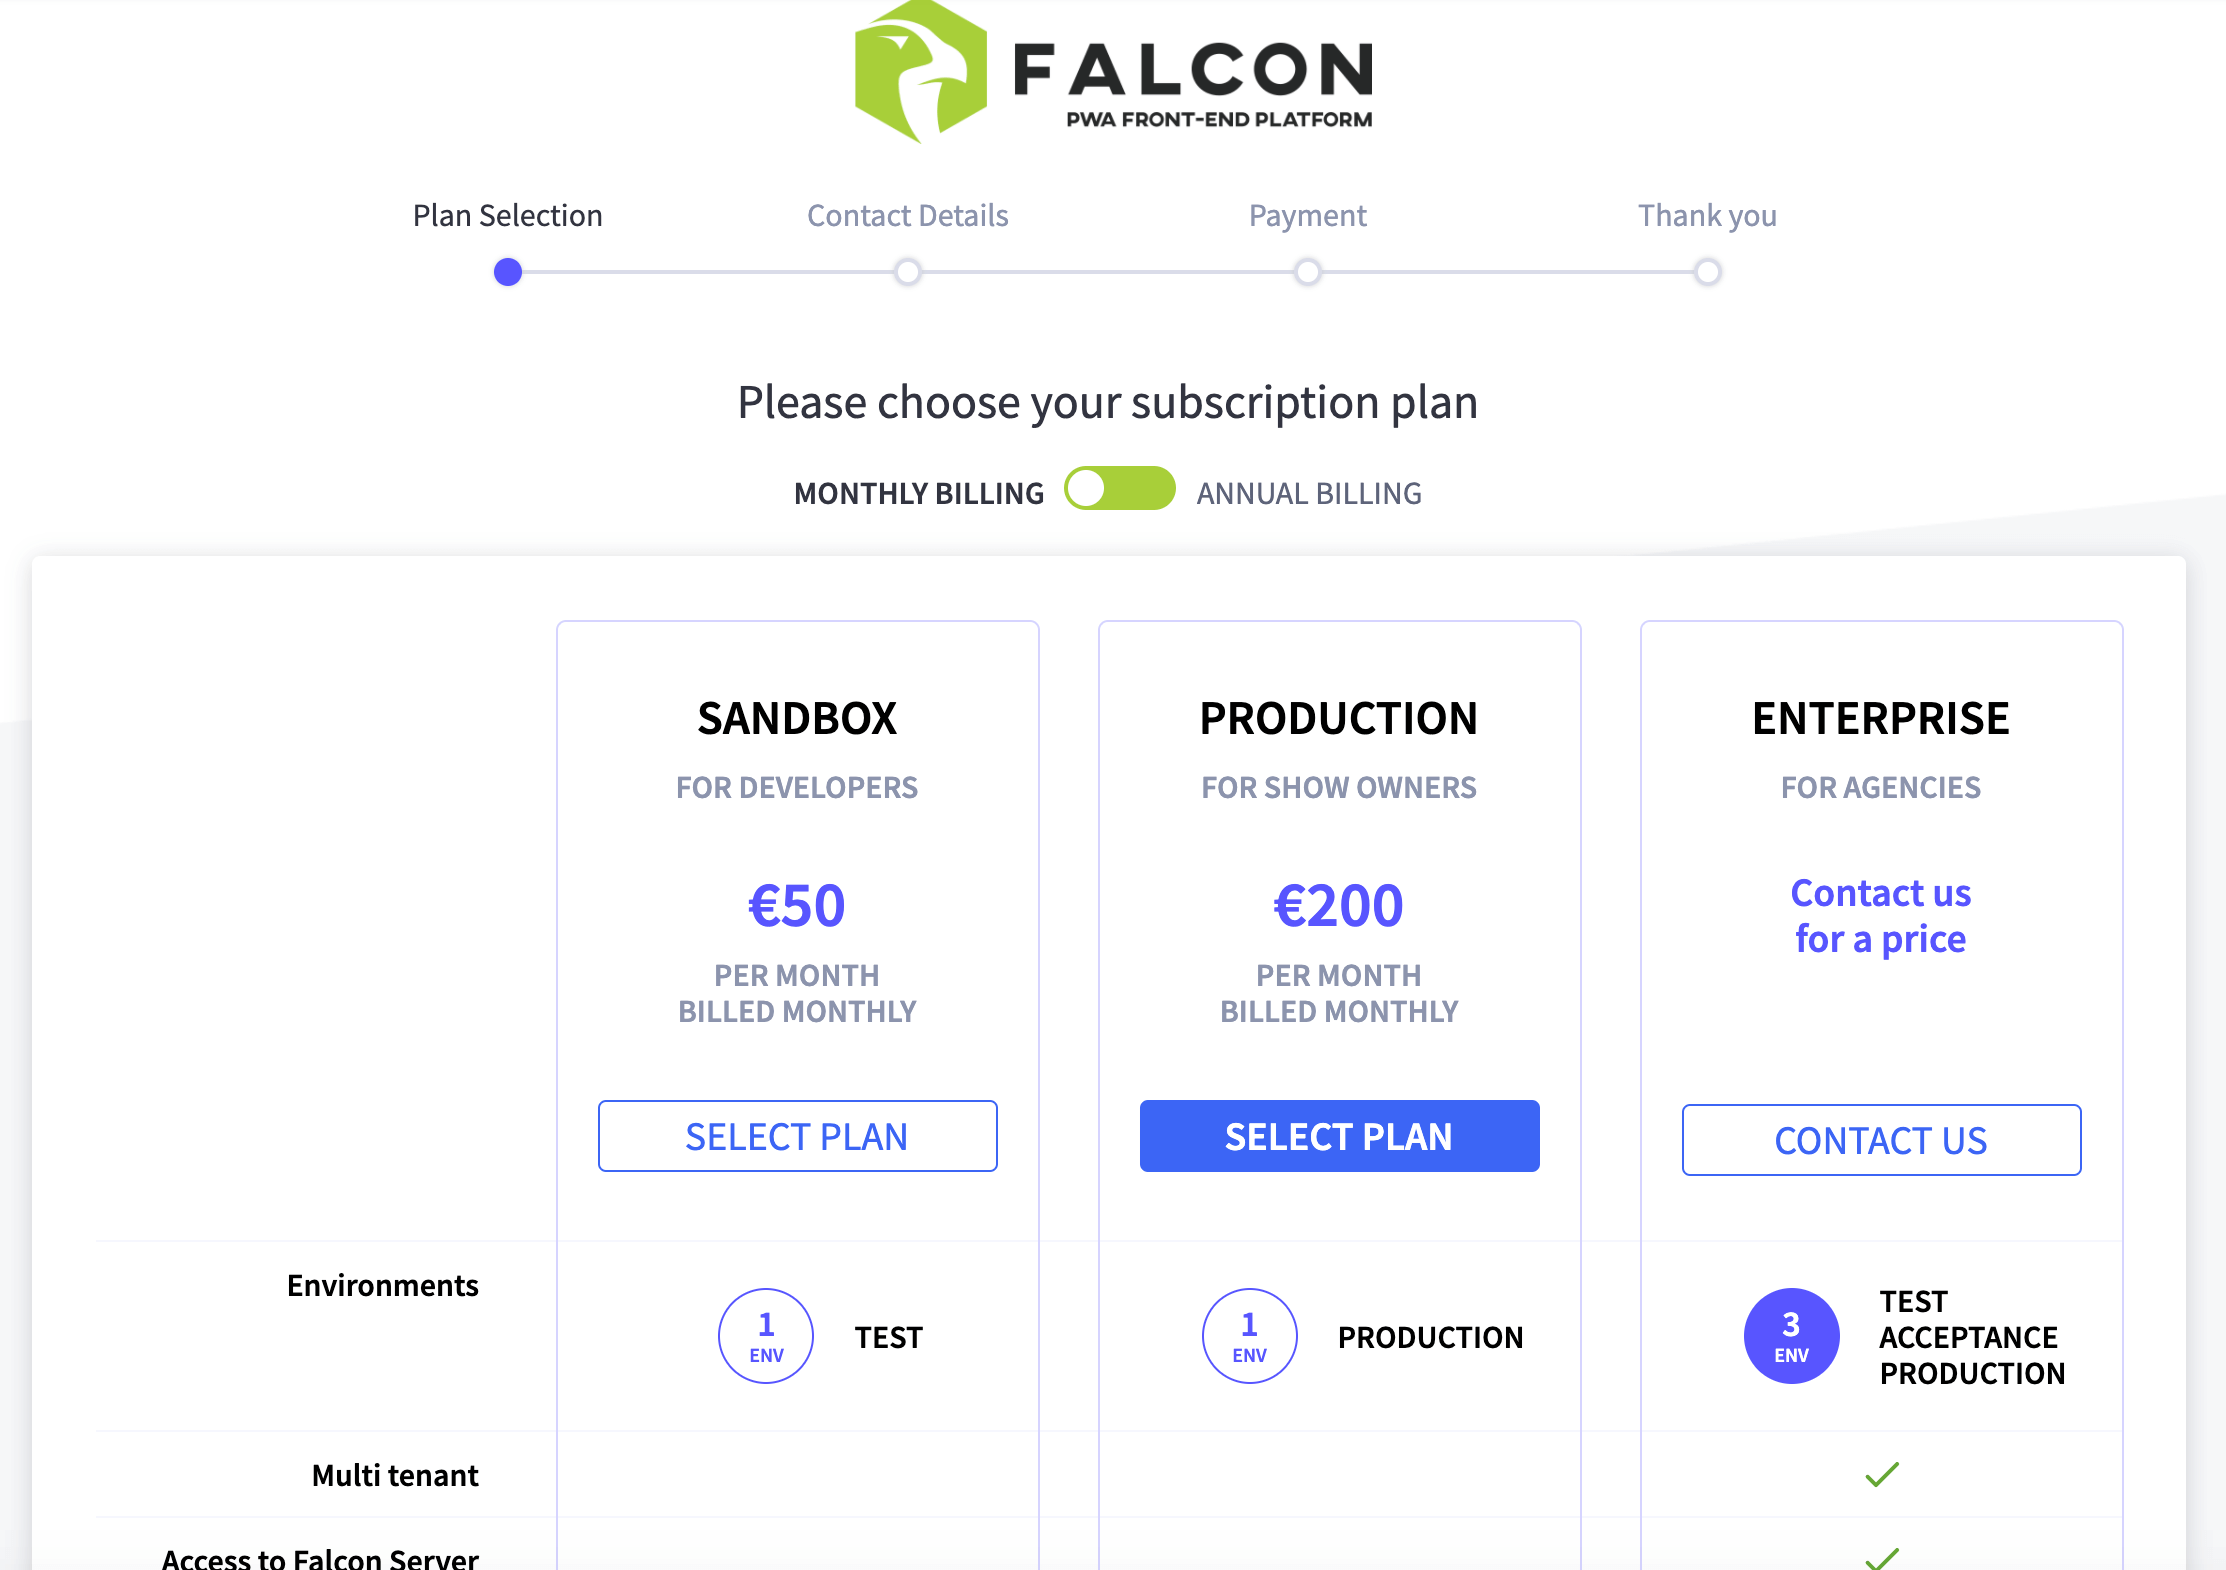
iii. Choose your plan
We offer various price plans, once you've chosen the plan that's right for you, you can continue to add your company / personal details.
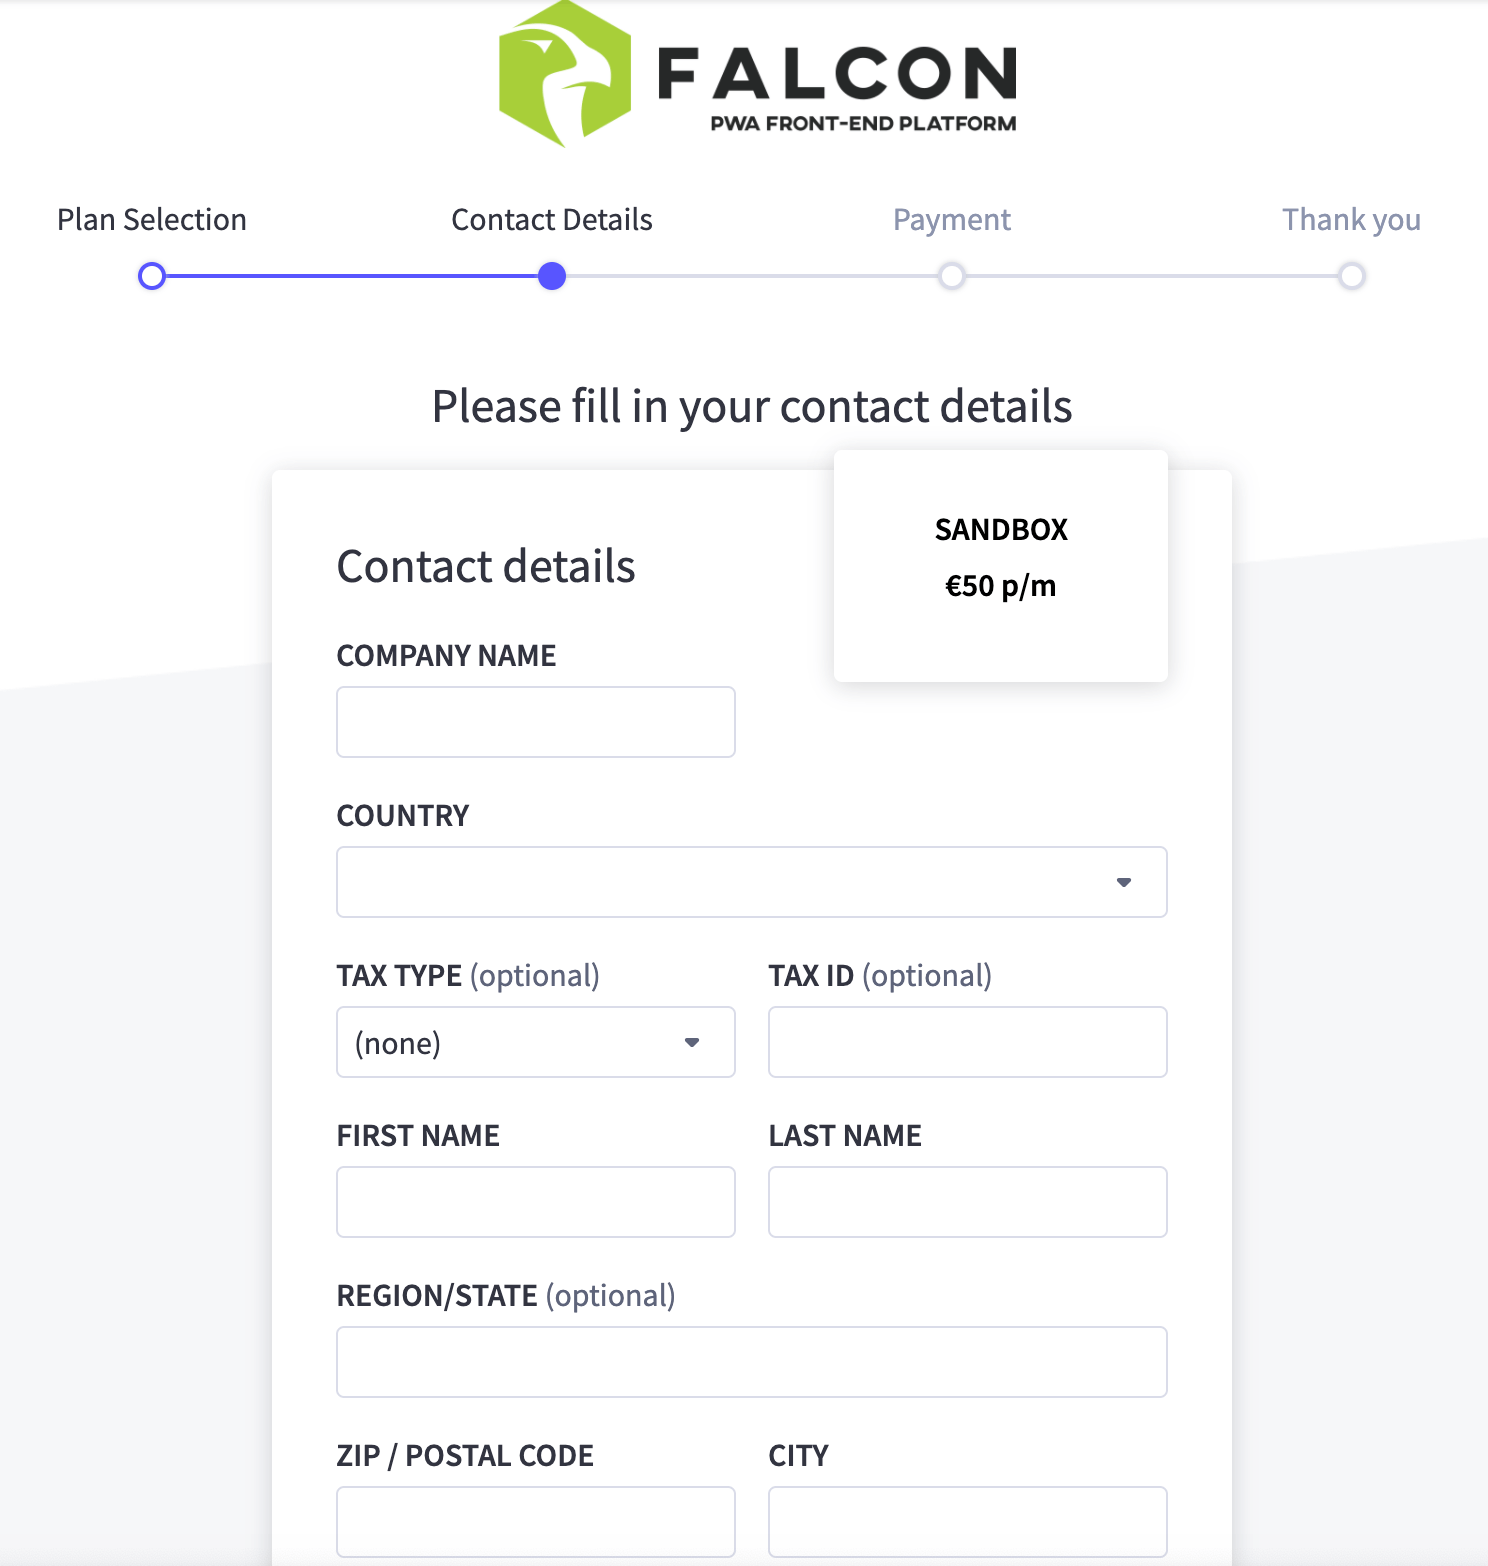
iiii. Add your personal details
You'll now be given the option to add your personal details, we'll use these as part of your invoice.
v. Adding Payment Details
The final step of your account setup is adding your payment details.

If setup is successful a BigCommerce token will be generated and you'll be shown your BigCommerce / Falcon Platform dashboard.

3. Your dashboard.
You'll be able to manage your Falcon Platform account from within your BigCommerce admin panel.
From here you'll be able to change personal detail, subscription and payment information and link your site to a live URL (Custom URLs are not available for sandbox accounts).
When you load up your dashboard you'll see a link to your new Falcon PWA store.
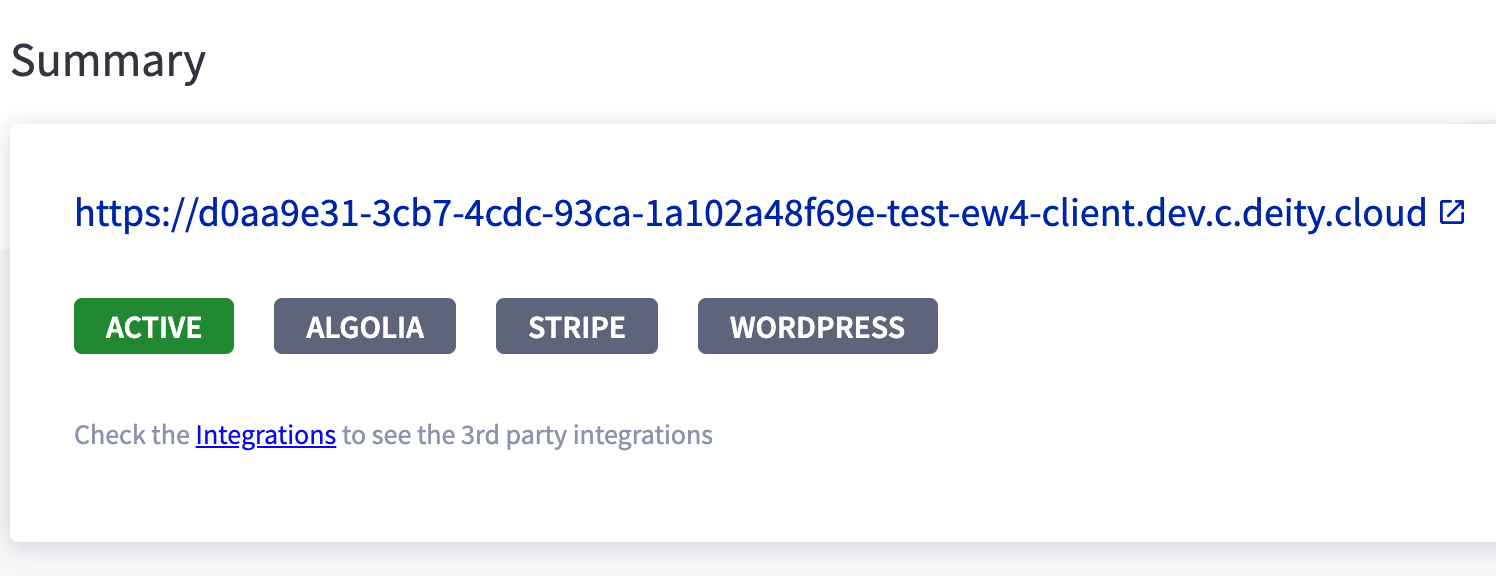
If you've just set up your account it might take a few minutes before your site is available.
4. Connecting your code repository
Your site will be currently setup using our example app.
If you don't already have an Falcon Client app in a code repository you'll need to create one [link here].
You repository should have the client folder in its root directory.
If you have an Enterprise account your Falcon Server instance should also be in the same code repository. with client and server directories in the root.
i. Accessing our npm packages
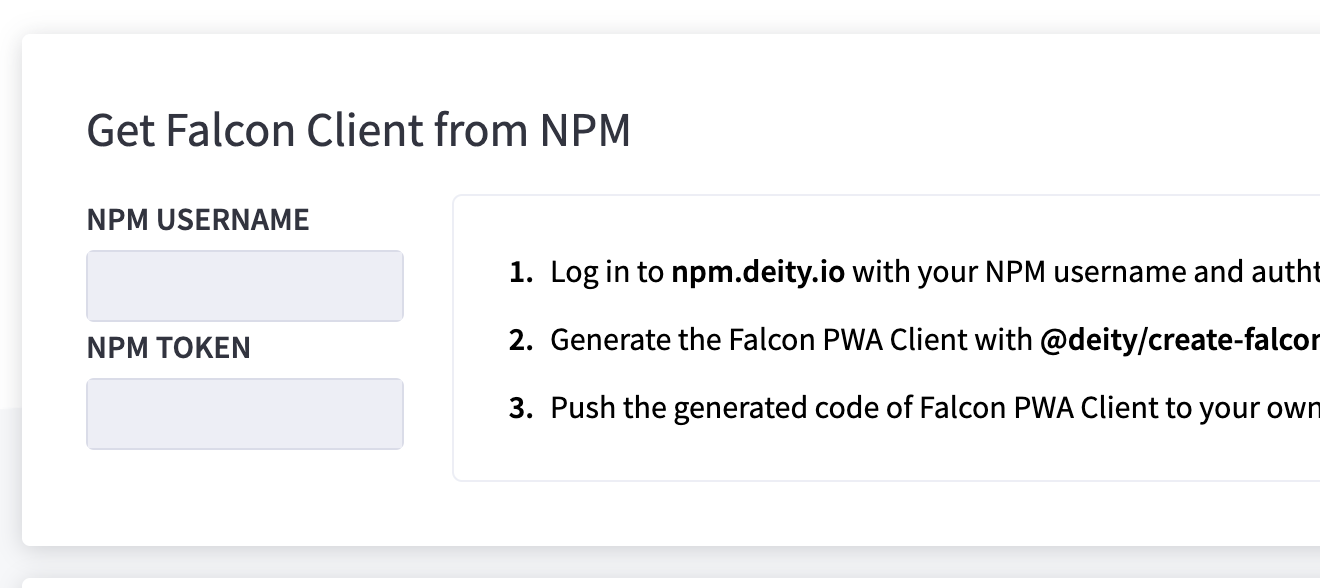
To access our private packages you'll need to use your npm Token and npm Username, this can be found from the Falcon Client tab.
You can log into deity.npm.io to view these pacakges.
To have access to the packages for local development you can follow these steps.
ii. Create your app
Once you have access to our packages you'll be able to create your app using npx @deity/create-falcon-app --example demo-v2 [YOUR_DIRECTORY_NAME]. For more information about creating an app follow these instructions.
iii. Connect your app
The last step is to connect your app so it's being used by your Falcon Cloud account. If you visit the the Falcon Client tab you'll see information about Authorising Cloud to have access to your repository and adding a Webhook so cloud can listen for changes (so your Cloud instance knows when you push code).
You can see detailed docs for this step here.
5. Local development
When developing your app locally you'll want to connect your Falcon Client app to Falcon Server, which in turn will connect to BigCommerce.
This can be done by adding your Falcon Server credentials to your client/config/local.json file. You can find out more about configurations here.
Add the following code to your local.json file, replacing [YOUR_SITE_URL] with your site URL.
{
  "graphqlUrl": "[YOUR_SITE_URL]/graphql"
}
6. Falcon Cloud + Deployments
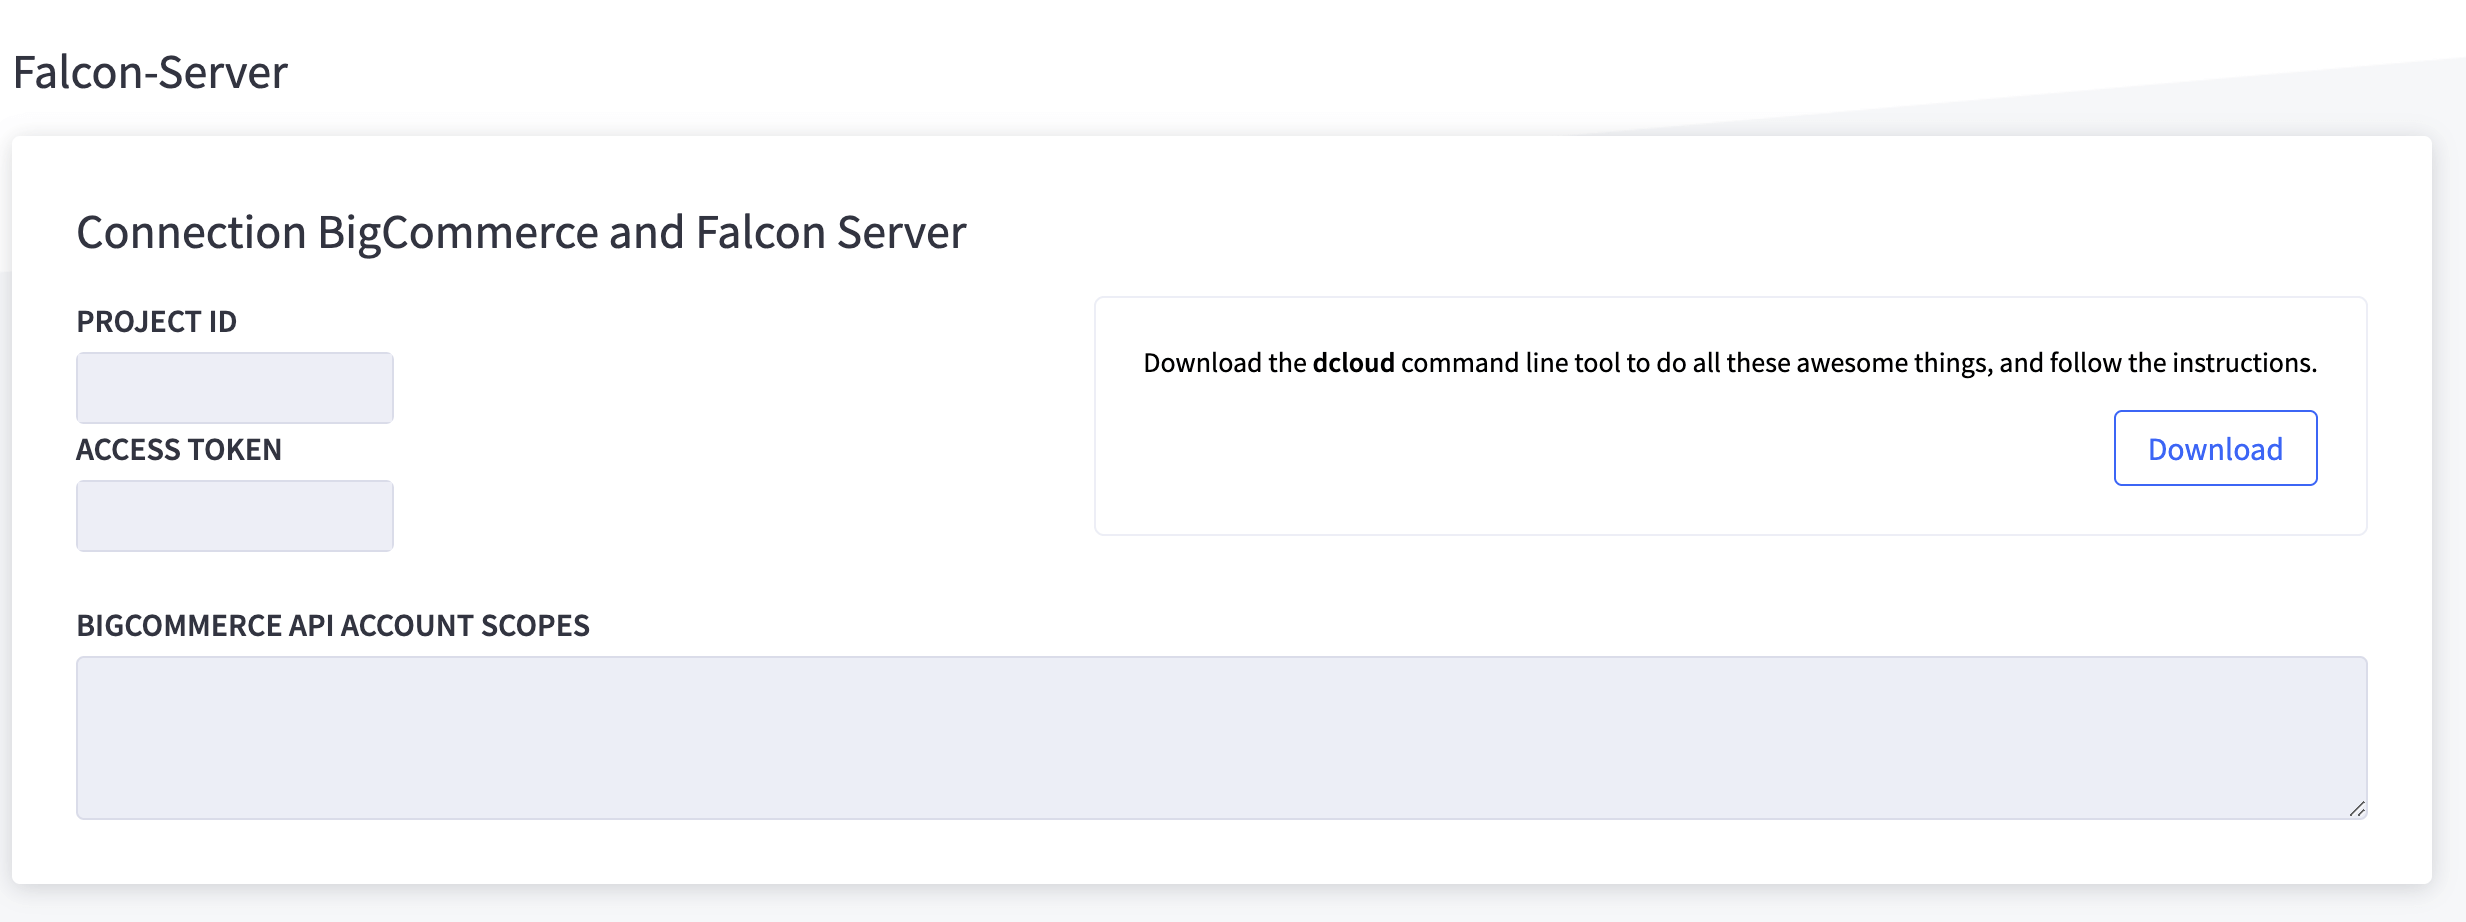
Falcon Cloud comes as part of Falcon Platform and is where your site is hosted. To manage deployments you can use our DCloud CLI tool. You'll need an access token to log into using DCloud. This can be found in the Falcon Server tab.
7. Adding integrations
If you want to add other integrations such as Algolia or Wordpress information can be found in the integrations tab.
**Demo Store
This demo store will NOT pull in your products at this stage and should only be used as a reference to the features available. From here you'll be able to chat to our support team if you have any questions.